
In the days when there were no refrigerators, people used to cure their meats and fish with salt. It has been soaked in a salty solution and then dried until it is very hard, much like people used to do over a hundred years ago. Salt is considered antibacterial because it restricts bacterial growth in many foods. It preserves foods by lowering the amount of “free” water molecules in foods. Bacteria need moisture in order to thrive, so without enough “free” water, they cannot grow well in foods that contain salt. However, there are a few problems with using salt to preserve food. One is that the food tastes very salty–even harsh–because you need to use lots of salt to preserve the food. Therefore when using dried shrimp in your favorite recipes the salt needs to be modified or reduced.
First consult the weatherman and make sure that you will have at least 3 days of sunshine as the shrimp need that time to “cure.”
Next, heat up a pot (size will depend on quantity being cooked) with water to boiling. Add to the water double the amount of salt you would normally use when boiling shrimp for eating. Boil the shrimp about 10 minutes or until they turn pink and start to float. Remove the shrimp and strain. This liquid can be kept and used for gravies, gumbos and stews.
Have a surface of wood or screen ready and big enough where you can lay the shrimp singly with none of them overlapping or atop of each other. My Cajun friend uses two saw horses with an old wooden door laid across.
Every three to four hours turn the shrimp rotating their position so that the shrimp dry on both sides. In the evening when the sun is going down, cover the shrimp with cloth or burlap and bring inside a shed or building. Generally night air has a tendency to bring in the moisture and moisture is the enemy of drying/dried shrimp and the friend of bacteria. Repeat for three days. You will see from day to day the head and shell start to pull away from the body of the shrimp
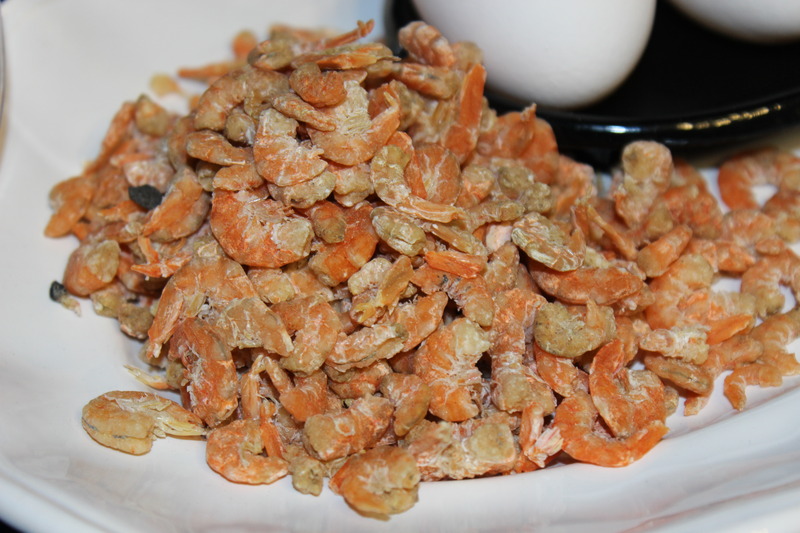
At the end of the third day or the next, empty the shrimp into a sack with holes poked in it. Take the sack and shake it, even going as far as gently batting the sack on the side of a building or the ground. The shells and head at this point have turned to a fine gritty powder. By moving the sack around, downwind from you, all of the “grit” blows away into the wind leaving only your dried shrimp. Voila
Store your shrimp in an air-tight sealed plastic jar in a dry area. If you have abundance, place them in the freezer remembering that moisture can destroy all your hard work.
These shrimps can be used in making stews, gravies, piquant sauces and gumbos. It's hard to beat a shrimp, egg and okra gumbo. They can be used as a flavoring agent in potato salad.
Eggnog is one of our favorite holiday drinks and it makes an INCREDIBLE addition to these unique pralines we invented…
Interestingly the gravy is not sweet; caramelizing burns out the sweetness.
This hot chocolate is one of the things I looked forward to most during the holiday season. Cold weather outside…
Jason's adaptation on this Crawfish Étouffée comes from a combination of a few different recipes. This recipe makes enough to…
This recipe is very similar to meatball stew, but doesn't require you to make meatballs. It also has a different…
Shrimp and Egg Stew is a popular Louisiana dish, enjoyed by many. It's not only delicious, but it's easy to…